Welcome to Woodworker++

This blog is intended to be a journal of my progress as a woodworker. Grab a drink, maybe some popcorn, sit back and enjoy a glimpse into my woodworking projects, both failed and successful. Why should you care what I do, or what I have to say? You shouldn't, but just maybe I can keep you from making the same mistakes that I had to learn the hard way.
Showing posts with label quilt rack. Show all posts

Wednesday, April 7, 2010

Sometimes the work is not the reward...

Quilt Rack
I've put in around 40 hours making a quilt rack for my sister-in-law and niece.  That sounds like a lot of time, but it's not when you enjoy the work.  One reason it took so long was because woodworking is my hobby.  Like most hobbyist I get a few hours here and there to work on a project, which means I have to context switch each time I come back to the project.  I like woodworking because, unlike developing software, I create tangible items.  Something that a person with a history degree, the history majors I know wouldn't understand Dijkstra's Algorithm, can look at and understand.  The building of the quilt rack was only part of the reward.  The best part was seeing my sister-in-law's reaction when I gave it to her.  Gifting in general is fun.  When you can gift something that you created, that's where the real reward comes in.

I forgot to take a picture of it before giving it away, so please forgive the clamps.  Oh, and I hate the look of the stained poplar, but wifey liked it and wouldn't let me paint it.  For those that are interested I'll list out the finishing process.

  1. Sanding with 180 -> 220 grit
  2. 1lb cut spit-coat of shellac
  3. quick sanding with 220 grit
  4. stain with dark walnut stain
  5. swearing
  6. stain with dark red mahogany stain
  7. more swearing
  8. 1 coat of polyurethane
  9. sanding with 600 grit
  10. another coat of polyurethane

Shaker Table
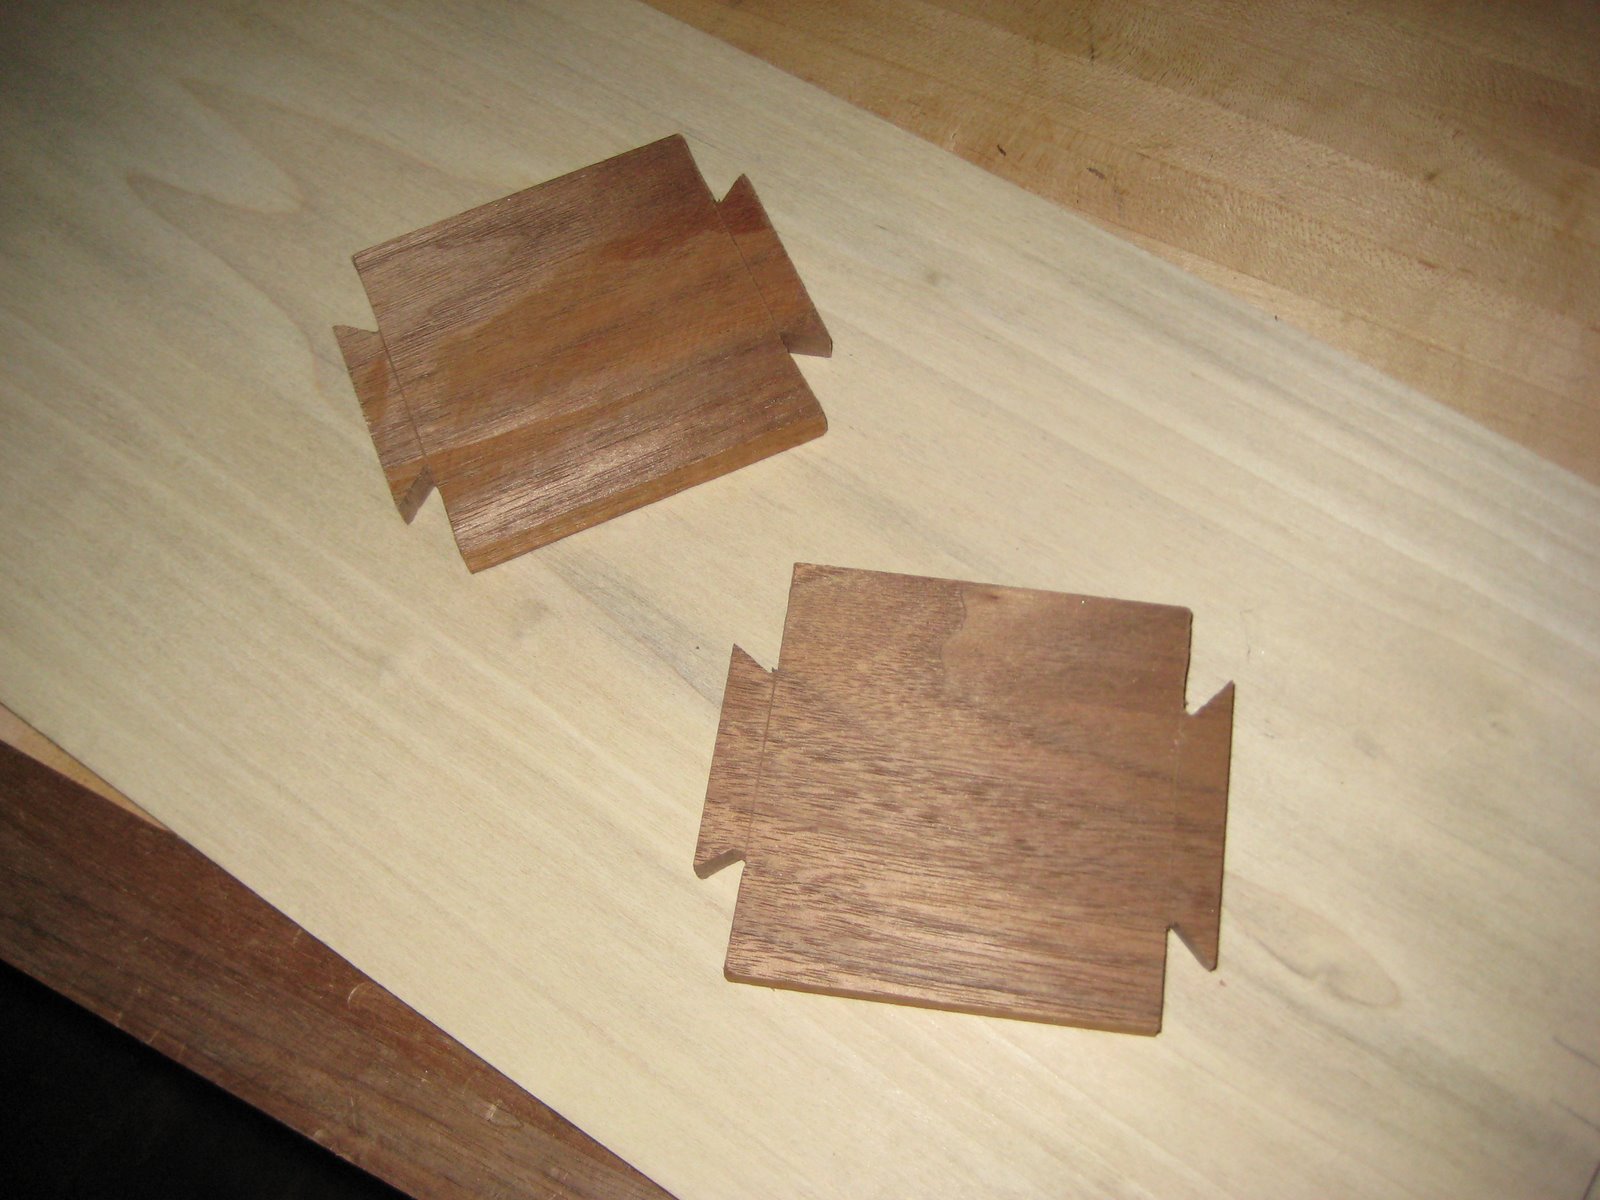
I've been busy with the Shaker table build the past week.  The task was to build the drawer and attach the drawer rails.  I've cut half-blind dovetails before, with disastrous results.  This time things went much smoother.  The picture you see below is my bench vise. I'm thinking of patenting it. None of this "quick release" expensive screw vise stuff for me, no way. Counting the 2x4 I think I have a total of $20 in the vise.  That said, I get about $5 worth of performance.

While my vise isn't ideal, I was able to layout the tails, and start sawing.  I took my time and followed the sawing advice from Chris Schwarz's re-print of, and guide to "The Jointer and Cabinet Maker".
While my sawing techniques have drastically improved in the past weeks., my chiseling techniques have not.  One problem, as I found out after finishing the drawer was that my chisels were extremely dull.  Schwarz, at point in the book mentions (paraphrasing) "If your chisels compress the fibers of the end grain it's time to sharpen".  Yup it's time to sharpen.
Posted by Picasa
Two things are not pictured in this update. 
1.  The bent corner of the drawer front where I dropped it
2.  The top being cradled by clamps for glue up.  

When I find the camera, which I put in a "safe" place, I'll post pics.

Saturday, March 6, 2010

Roundover done

Here's the quilt rack with roundovers. I made the choice to leave part of the rails square. I think it looks kind of neat with the little "lambs tongue". So now we're ready to do some more sanding and then a coat of shellac in the morning.
Posted by Picasa

Quilt rack dry fit

Finished the tenons this morning. Got the rack dry fit. Now to break out the router and round over the edges, sanding and then a coat of finish.
Posted by Picasa

Sunday, February 28, 2010

Ready to roundover the edges


So I decided to give the repair a shot. I'm glad I did. Now, I know that it's not an astonishing fix, and that it's kinda rough around the edges, but it's my first repair for this kind of thing. This is the best side, the other side will be covered by the rails. I plan on using some wood putty to fill the cracks, so I'll get to learn from that too. I spent the rest of the morning shaping the sides with the sander and disc sanded everything.


Posted by Picasa

Sunday, February 21, 2010

Quilt rack...


I bought a new poplar board instead of trying to fix the warp.  Yesterday afternoon I milled up the sides.  This morning I milled up the rails.  I have the rails milled and tenoned.  I ganged the rails and cut the tenons on the table saw.  I also have one side mortised and roughed out on the bandsaw.


I'll have to take a trip out to the base to use the spindle and belt sanders to clean it up.  Once I get the side sanded and finished out I can trace it to the other side and cut that one out.  I did make a mistake when cutting the tenons.  I made a mis-cut when cutting the tenon on the table saw.  Just the width of the saw kerf, on one side of one tenon.  So I glued a little repair on there and will whittle it down somehow.


While waiting on the glue to dry and to just do some dovetail practice I started making a simple walnut pen holder for my desk at work.  Here's 2 sides dovetailed.  The other two sides will be pins only.


Saturday, February 20, 2010

Quilt rack...

I bought a new poplar board instead of trying to fix the warp.  Yesterday afternoon I milled up the sides.  This morning I milled up the rails.  I have the rails milled and tenoned.  I ganged the rails and cut the tenons on the table saw.  I made a mistake on one shoulder cut that had to be fixed on all four, but more on that at a later date. I also have one side mortised and roughed out on the bandsaw.   I'll have to take a trip out to the base to use the spindle and belt sanders to clean it up.  Once I get the side sanded and finished out I can trace it to the other side and cut that one out.  There's no pics today because I can't find the camera.  As soon as I do, I'll post pictures.  I totaled over 7 hours in the garage today.  Good day.

Sunday, February 7, 2010

Warped...

I finally made it down to the garage yesterday to work on the quilt rack.  Earlier in the week I found this beautiful piece of poplar, and yes I said poplar, at the local big box.  When I set it down on my workbench to start marking cut lines I discovered a problem.  The board is warped in two different directions.  If it were just bent, I could have worked with that.  It wasn't warped when I bought it, so I'm trying to determine why it's warped now.  Personally, I believe it's because of the heat in our house.  It's bee cold the last few days and the heat has been set to 76 degrees.  I believe there was more moisture in the air at the box store, and our central heat dried out the board and warped it.  That's just a theory.  I'm going to try to work the board anyway by cutting around the worst pieces of warp, and then planing down the rest.  I'll use this as a learning experience on how to work with what you have.

Sunday, December 27, 2009

Next project...

Looks like it's going to be a quilt rack for my sister in law. Right now, I'm going to try and make it out of poplar, and stain it with pecan stain. If the poplar does not work, then I'll switch to maple. I'm using a plan I found on Lowes' website. I've attached a pic of my Sketchup model. I'm going to give wedge tenons a shot.