Welcome to Woodworker++

This blog is intended to be a journal of my progress as a woodworker. Grab a drink, maybe some popcorn, sit back and enjoy a glimpse into my woodworking projects, both failed and successful. Why should you care what I do, or what I have to say? You shouldn't, but just maybe I can keep you from making the same mistakes that I had to learn the hard way.
Showing posts with label tenon. Show all posts

Saturday, March 6, 2010

Quilt rack dry fit

Finished the tenons this morning. Got the rack dry fit. Now to break out the router and round over the edges, sanding and then a coat of finish.
Posted by Picasa

Sunday, February 21, 2010

Quilt rack...


I bought a new poplar board instead of trying to fix the warp.  Yesterday afternoon I milled up the sides.  This morning I milled up the rails.  I have the rails milled and tenoned.  I ganged the rails and cut the tenons on the table saw.  I also have one side mortised and roughed out on the bandsaw.


I'll have to take a trip out to the base to use the spindle and belt sanders to clean it up.  Once I get the side sanded and finished out I can trace it to the other side and cut that one out.  I did make a mistake when cutting the tenons.  I made a mis-cut when cutting the tenon on the table saw.  Just the width of the saw kerf, on one side of one tenon.  So I glued a little repair on there and will whittle it down somehow.


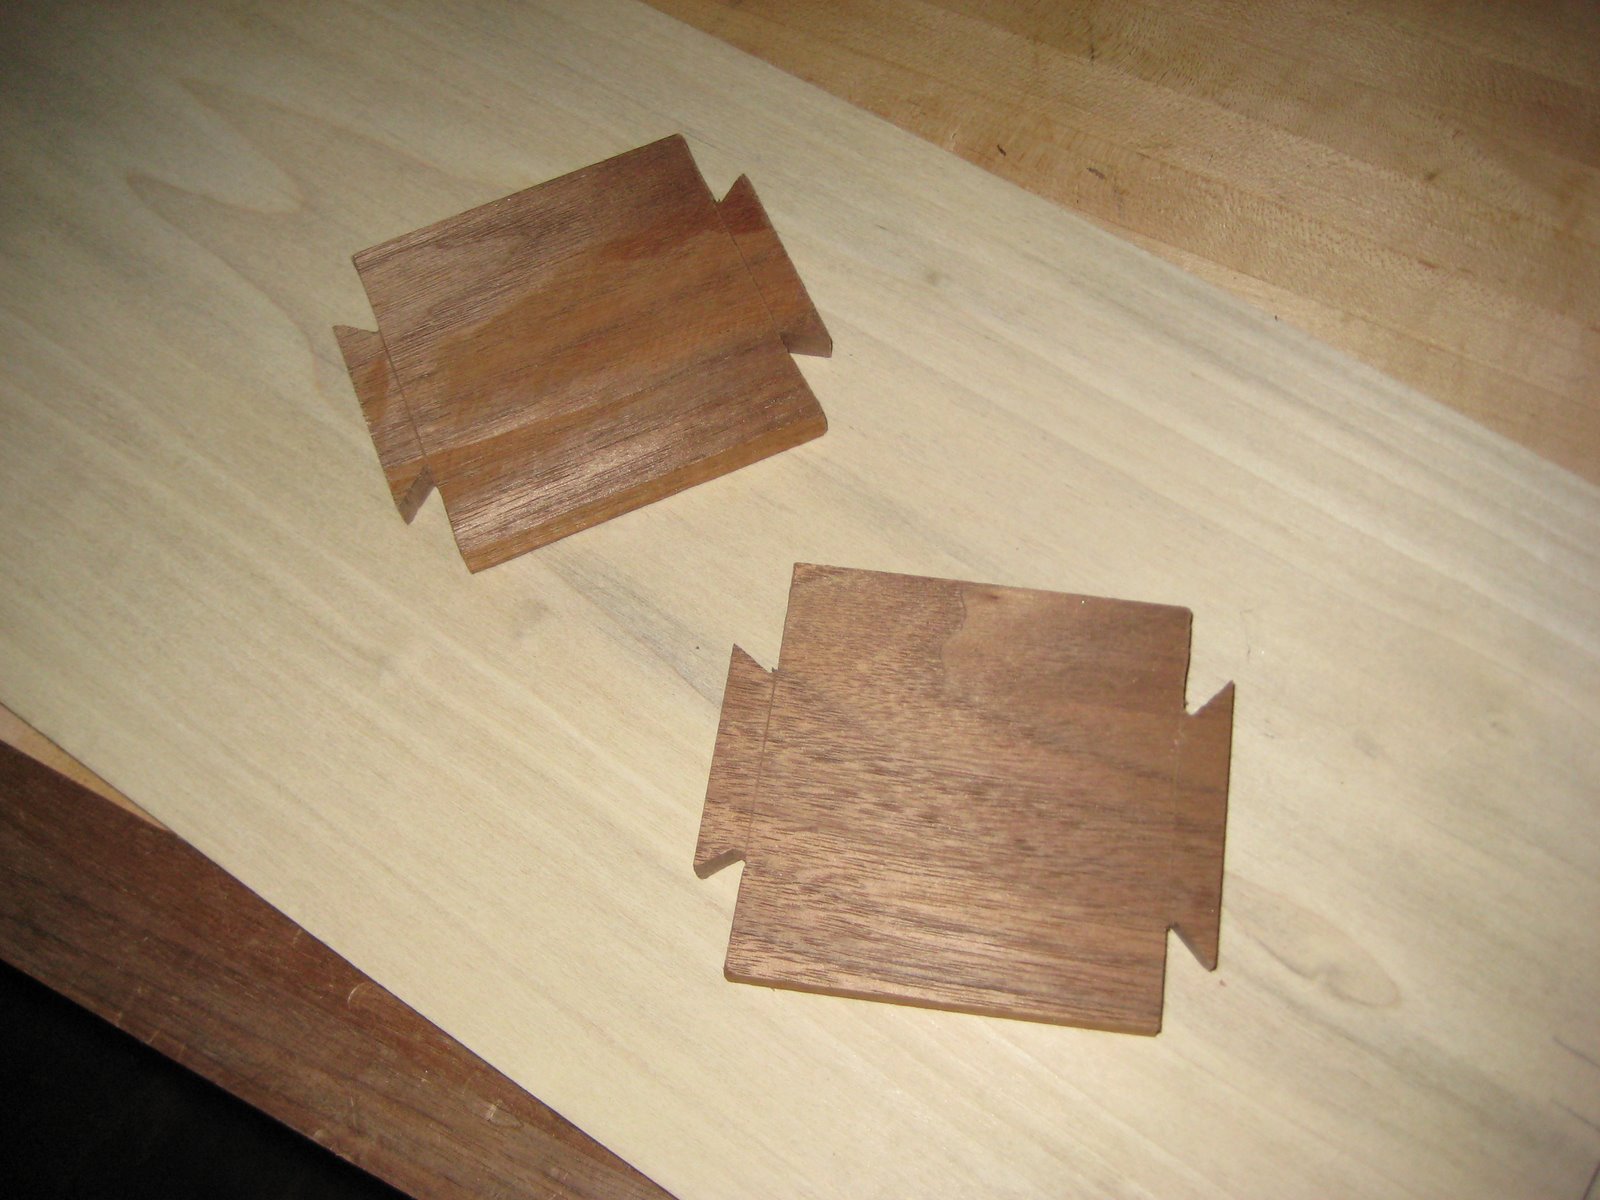
While waiting on the glue to dry and to just do some dovetail practice I started making a simple walnut pen holder for my desk at work.  Here's 2 sides dovetailed.  The other two sides will be pins only.


Saturday, February 20, 2010

Quilt rack...

I bought a new poplar board instead of trying to fix the warp.  Yesterday afternoon I milled up the sides.  This morning I milled up the rails.  I have the rails milled and tenoned.  I ganged the rails and cut the tenons on the table saw.  I made a mistake on one shoulder cut that had to be fixed on all four, but more on that at a later date. I also have one side mortised and roughed out on the bandsaw.   I'll have to take a trip out to the base to use the spindle and belt sanders to clean it up.  Once I get the side sanded and finished out I can trace it to the other side and cut that one out.  There's no pics today because I can't find the camera.  As soon as I do, I'll post pictures.  I totaled over 7 hours in the garage today.  Good day.

Sunday, February 10, 2008

Legs...

In earlier posts you saw the legs were quite wide. At first I was
going to make them 1 3/4" x 2 1/2" x 36". Then I got to looking at them and that was just ugly. So, I decided to make them smaller & square. They're still 36" long but now they're 1 1/2" inches square. I spent most of the day making these legs. I was able to dimension them fairly quick. Then came time to make the apron. This is my first attempt at mortise and tenon joints. I'm actually quite proud of them. I did the first one entirely by hand with a small backsaw and some chisels. After the first I used the table-saw to cut the tenons, and the drill press to hog out material for the mortises. There's a pic in the list where you can see the comparison between the handcut tenon, on the left, and the tenon cut with the table saw.

I have a tenoning jig for my table-saw. Unfortunately, the cheek cut on the tenon was so small I couldn't use the jig. So I made the tenon the way I've seen Norm and David do it. I nibbled it away a little at a time. I always thought this would take forever, but it's actually very quick. Especially when the alternative is hand cutting the tenon.