Welcome to Woodworker++

This blog is intended to be a journal of my progress as a woodworker. Grab a drink, maybe some popcorn, sit back and enjoy a glimpse into my woodworking projects, both failed and successful. Why should you care what I do, or what I have to say? You shouldn't, but just maybe I can keep you from making the same mistakes that I had to learn the hard way.

Sunday, February 21, 2010

Quilt rack...


I bought a new poplar board instead of trying to fix the warp.  Yesterday afternoon I milled up the sides.  This morning I milled up the rails.  I have the rails milled and tenoned.  I ganged the rails and cut the tenons on the table saw.  I also have one side mortised and roughed out on the bandsaw.


I'll have to take a trip out to the base to use the spindle and belt sanders to clean it up.  Once I get the side sanded and finished out I can trace it to the other side and cut that one out.  I did make a mistake when cutting the tenons.  I made a mis-cut when cutting the tenon on the table saw.  Just the width of the saw kerf, on one side of one tenon.  So I glued a little repair on there and will whittle it down somehow.


While waiting on the glue to dry and to just do some dovetail practice I started making a simple walnut pen holder for my desk at work.  Here's 2 sides dovetailed.  The other two sides will be pins only.


Saturday, February 20, 2010

Quilt rack...

I bought a new poplar board instead of trying to fix the warp.  Yesterday afternoon I milled up the sides.  This morning I milled up the rails.  I have the rails milled and tenoned.  I ganged the rails and cut the tenons on the table saw.  I made a mistake on one shoulder cut that had to be fixed on all four, but more on that at a later date. I also have one side mortised and roughed out on the bandsaw.   I'll have to take a trip out to the base to use the spindle and belt sanders to clean it up.  Once I get the side sanded and finished out I can trace it to the other side and cut that one out.  There's no pics today because I can't find the camera.  As soon as I do, I'll post pictures.  I totaled over 7 hours in the garage today.  Good day.

Wednesday, February 17, 2010

Shaker table wood ordered...

I ordered the wood for the March shaker table build from Bell Forest Products.  Customer service has been great!.  If you're interested go here to view the table project pack.

Wednesday, February 10, 2010

The WoodWhisperer Guild March build

I'm a  member of the The WoodWhisperer Guild.  As a guild member I'm participating in the March Shaker table build.  And if you've not seen, Marc has turned the build into a something great. Visit http://woodworkersfightingcancer.com/ for details.

Sunday, February 7, 2010

Warped...

I finally made it down to the garage yesterday to work on the quilt rack.  Earlier in the week I found this beautiful piece of poplar, and yes I said poplar, at the local big box.  When I set it down on my workbench to start marking cut lines I discovered a problem.  The board is warped in two different directions.  If it were just bent, I could have worked with that.  It wasn't warped when I bought it, so I'm trying to determine why it's warped now.  Personally, I believe it's because of the heat in our house.  It's bee cold the last few days and the heat has been set to 76 degrees.  I believe there was more moisture in the air at the box store, and our central heat dried out the board and warped it.  That's just a theory.  I'm going to try to work the board anyway by cutting around the worst pieces of warp, and then planing down the rest.  I'll use this as a learning experience on how to work with what you have.

Friday, January 29, 2010

Step stool...

I took an "Introduction to Woodworking" class at the local military base. The class acts as a "safety course" for access to the base's wood shop. In the course of learning how to use particular machines, you build a step stool. The class lasted 4 hours and in that time we used a range of tools and learned how to safely operate them. So, I'll detail the process to make the step stool.


  1. Cut the board to length on a nice 10" Craftsman RAS. The board overall was around 3'
  2. Ripped the sides and the rail to width on a sa-weet 5hp Saw Stop Cabinet saw
  3. Used a big Powermatic drill press with a fostner bit to drill out the hole for the sides (think feet)
  4. Cut the sides to length, splitting the hole, on the RAS
  5. Cut the stile to final length on a Rigid 10" SCMS.
  6. Used a template to trace the pattern onto the sides
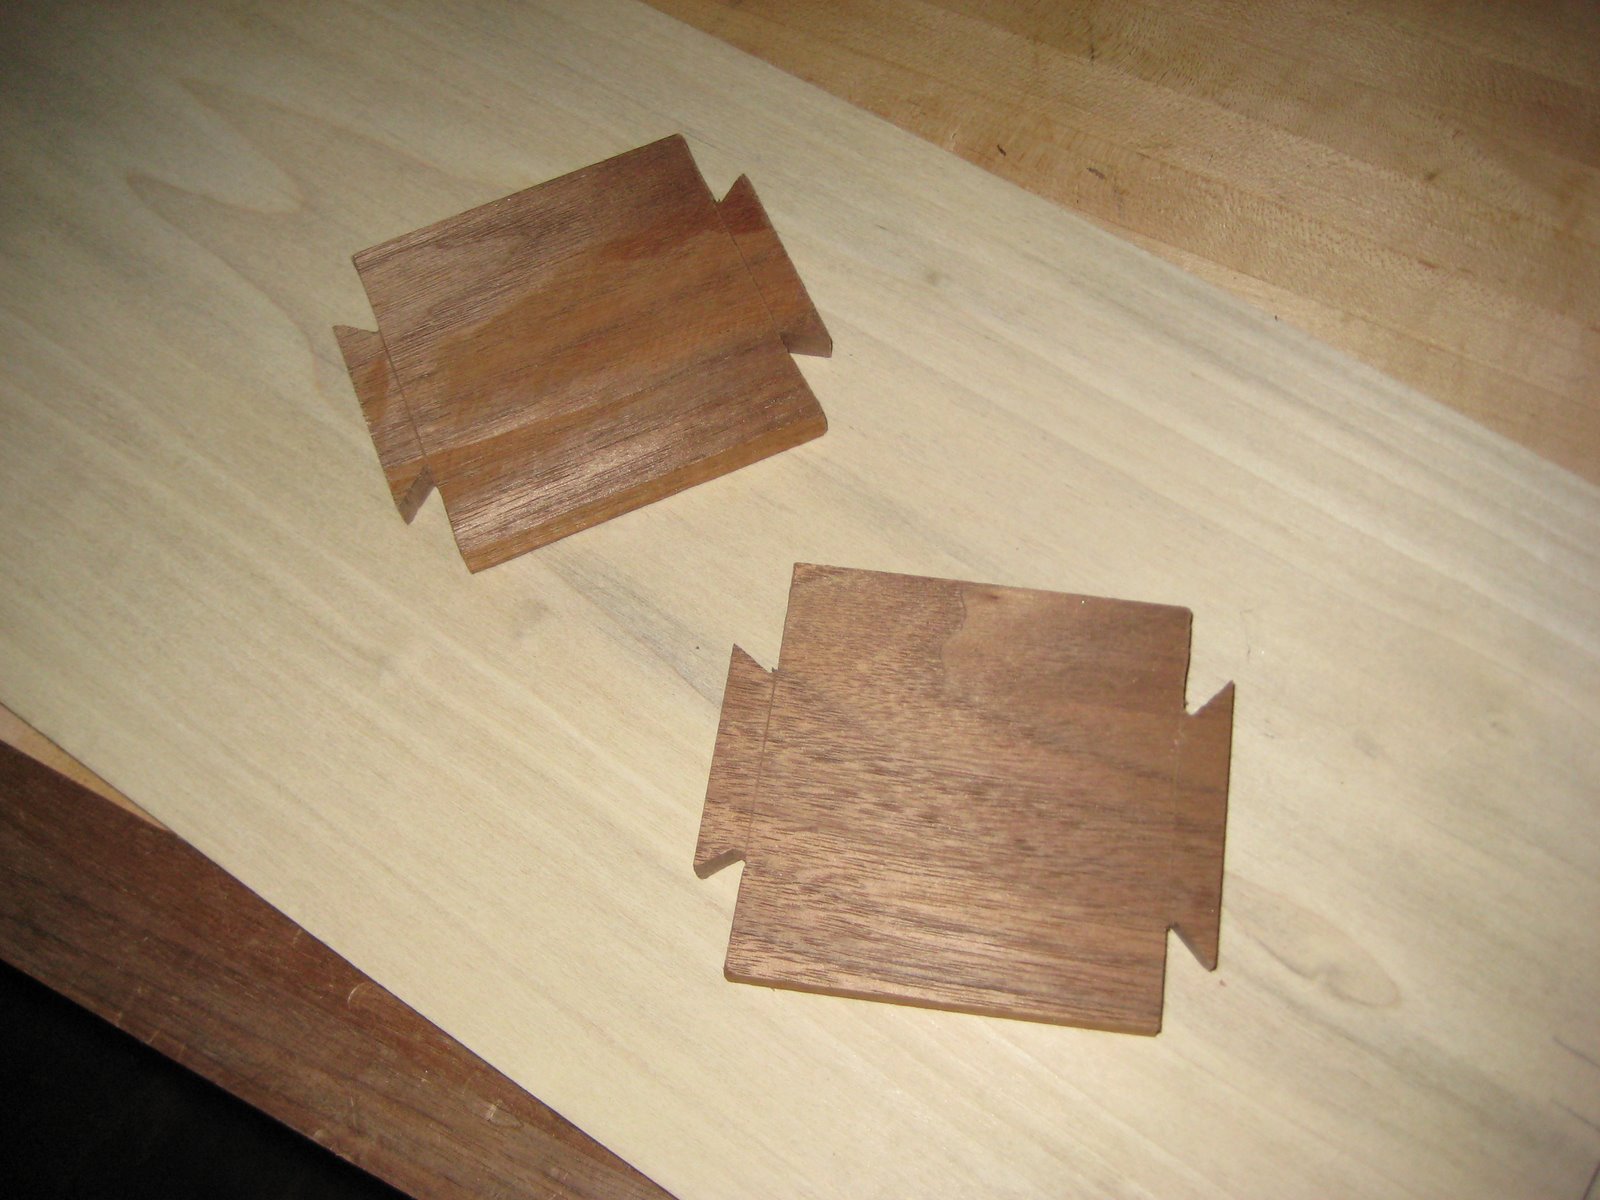
  7. Cut out the sides on a Minimax 20" bandsaw
  8. Used a floor standing Jet Spindle Sander and belt sander to clean up the sides
  9. Used a nice Jessem router table setup to round-over the top edges
  10. Screwed everything together.


That was pretty much it. With the safety info weaved in there, it took a total of about 3 1/2 hours of a 4 hour class. So, in case you missed some of the equipment I used, I'll make a full list of what I saw in the shop at the bottom. If you have access to your local military installation, be sure to see if you also have access to the local wood shop. Ours costs $3 per hour to use, but once you see the list of equipment, I think you'll understand why.


  • 2 x 5hp Saw Stop cabinet saws
  • 2 x 20" Mini Max bandsaws
  • 1 x 18" Laguna bandsaw with a Resaw King blade (they were just setting this up)
  • 1 x 10" Craftsman RAS
  • 1 x 10" Rigid SCMS
  • 2 x xx" Floor standing drill presses
  • 1 x Powermatic Mortiser
  • 1 x Powermatic 24" Planer
  • 1 x 8" Powermatic Joiner
  • 1 x Router table with pretty powerful motor
  • 2 x Oscillating Spindle Sanders
  • 2 x 6" or 8" Belt Sanders
  • Various other toys.

Posted by Picasa

Tuesday, January 5, 2010

Sleigh update...

So, I realize I haven't posted the last of the sleigh pictures. Here they are...

I ended up removing the iron pipe and making a set of "skis" from 2x4s. I used a jigsaw to turn up the front of the ski and roof flashing to protect it. With the flashing protecting the end-grain it made the skis very slick. This this is FUN to ride when being pulled by a horse. Fun.


Here's the final sled with, no kidding, wrapping paper stapled to the sleigh.